The Quest for Authentic Flavor: Unlocking Nearly Restaurant Style Chicken Saag Curry at Home
There's a special magic to a truly great chicken saag curry from your favorite Indian restaurant. The vibrant green spinach, the tender chicken, the rich, aromatic gravy, and that unmistakable depth of flavor that often seems elusive in home kitchens. Many of us have attempted to recreate this culinary masterpiece, only to find our efforts falling a little short of that desired restaurant standard. The good news? Achieving a nearly restaurant style chicken saag curry at home is not an impossible dream. It simply requires understanding a few key techniques, a commitment to quality ingredients, and a touch of patience.
The difference between a good homemade curry and an exceptional one often lies in the subtle layers of flavor development, the careful balance of spices, and the precise cooking methods that professional chefs employ. Forget the notion that complex restaurant curries are a secret only known to a select few; with the right guidance, you too can produce a chicken saag that will impress even the most discerning palate, rivaling the best takeaways.
What Makes Restaurant Saag So Special?
- Depth of Flavor: It's not just about heat; it's about a complex interplay of sweet, sour, spicy, and umami notes. This comes from slow cooking, caramelization, and layering of spices.
- Perfect Texture: The chicken is tender, never dry. The spinach is well-integrated, providing a lush green hue without being watery or stringy. The gravy is thick, glossy, and clings beautifully to the meat.
- Aromatic Profile: A balanced aroma of fresh and roasted spices, ginger, garlic, and chilies, without any single element overpowering the dish.
- Consistent Color: A rich, appetizing green that doesn't look dull or brown.
Unlocking the Secrets to Your Best Homemade Chicken Saag
To create a truly remarkable nearly restaurant style chicken saag curry, we need to focus on several critical stages of the cooking process. Each step, from preparing your ingredients to the final simmer, contributes significantly to the overall taste and texture.
1. The Foundation: Mastering Your Base Gravy
The secret to many restaurant curries lies in their pre-prepared, highly flavored base gravy, often a meticulously cooked onion-tomato puree. While we might not make batches the size of a commercial kitchen, we can emulate the process. Start by finely dicing or pureeing onions until smooth. Slowly caramelize them over a medium-low heat until they are deeply golden brown – this could take 15-20 minutes. This step is non-negotiable for sweetness and depth. Next, add ginger and garlic paste, frying until aromatic. Then, introduce finely pureed tomatoes, cooking out all the raw acidity until the oil separates. This rich, thick mixture forms the backbone of your curry, providing a depth that quick-fried onions simply can't achieve.
2. The Spice Symphony: Freshness and Roasting
While ready-made spice powders are convenient, using freshly ground whole spices can elevate your saag dramatically. Dry roast whole spices like cumin seeds, cardamom pods, cinnamon sticks, and bay leaves until fragrant, then grind them if necessary. This process awakens their essential oils, releasing a more intense and nuanced flavor. Once your base gravy is ready, incorporate your ground spices (turmeric, coriander, red chili powder, and garam masala). Fry these spices gently with a splash of water to prevent burning, allowing their flavors to bloom into the gravy. This "bhunao" technique is crucial for developing a rich, complex taste.
3. The Chicken: Marinade and Cooking Method
For succulent chicken, a short marinade is key. Marinate bite-sized chicken thigh pieces (thighs are preferred for their tenderness and flavor) with yogurt, ginger-garlic paste, a squeeze of lemon juice, and a pinch of turmeric and salt for at least 30 minutes. This helps tenderize the meat and infuse it with initial flavors. Instead of cooking the chicken directly in the curry, consider pan-frying or grilling it separately until lightly browned on all sides before adding it to the simmering gravy. This prevents the chicken from boiling and losing its texture, ensuring it remains juicy and absorbs the curry's flavors without becoming dry.
4. The Saag (Spinach): Preparation and Integration
The spinach (saag) is the star of this dish. Use fresh spinach, washing it thoroughly. Blanching the spinach briefly in hot water, then shocking it in ice water, helps retain its vibrant green color and prevents it from becoming bitter or watery when cooked in the curry. Squeeze out excess water and then roughly chop or blend the spinach to your desired consistency – some prefer a coarse texture, others a smoother puree. Add the prepared spinach towards the end of the cooking process, allowing it to gently meld with the curry for just 10-15 minutes. This ensures its freshness and color are preserved. For even more insights on getting the spinach right, you might find valuable tips in Mastering Homemade Restaurant-Style Chicken Saag.
5. The Finishing Touches: Tempering and Creaminess
A final "tarka" or tempering can add an extra layer of aroma and visual appeal. Heat a small amount of ghee or oil in a separate pan, add sliced garlic, green chilies, and a pinch of fenugreek seeds (methi) or dried fenugreek leaves (kasoori methi) until fragrant. Pour this sizzling mixture over your finished curry just before serving. For that luscious, creamy restaurant-like texture, stir in a spoonful of fresh cream or full-fat yogurt right at the end, ensuring it doesn't boil once added.
Advanced Techniques for Elevating Your Homemade Saag
Beyond the core steps, a few advanced techniques can push your homemade chicken saag from excellent to truly extraordinary, making it the closest you'll get to a restaurant experience. Many chefs attest that achieving this level of authenticity requires attention to these finer details.
The Art of "Bhuna" and Slow Cooking
The term "bhuna" refers to the process of frying spices and aromatics in oil until the oil separates, indicating that the ingredients have cooked down and intensified in flavor. This is not a quick sauté; it's a patient, low-and-slow frying process that can take significant time at each stage (onions, ginger-garlic, tomatoes, then powdered spices). Each time you add an ingredient, ensure it's cooked thoroughly, stirring constantly, until the moisture evaporates and the oils begin to release. This meticulous layering builds unparalleled depth and richness, a hallmark of nearly restaurant style chicken saag curry. Allow your curry to simmer gently for at least 30-45 minutes after adding the chicken and spinach, letting the flavors meld and deepen.
Adding Umami and Balancing Flavors
Restaurants often use subtle enhancers. A small spoon of tomato paste can add a concentrated umami punch to your tomato base. A pinch of sugar or a touch of tamarind paste (depending on your preference) can balance the acidity and spice, creating a more harmonious flavor profile. Always taste and adjust as you go. Is it too sour? Add a touch of sugar. Not tangy enough? A squeeze of lemon or lime at the end can brighten it. Don't underestimate the power of salt; proper seasoning throughout the cooking process is vital.
Resting for Perfection
Just like a good stew, curries often taste better the next day. Allowing your chicken saag to rest for several hours, or even overnight in the refrigerator, gives the flavors a chance to fully integrate and develop. Reheat gently, adding a splash of water or stock if needed to loosen the gravy. This resting period truly allows the dish to reach its peak flavor potential, giving it that restaurant-quality depth that's hard to achieve fresh off the stove. For those wondering if their efforts truly compare, consider reading Is This the Closest Homemade Chicken Saag to a Restaurant? for an interesting perspective on home vs. restaurant authenticity.
Practical Tips for a Flawless Chicken Saag Experience
- Mise en Place: Prepare all your ingredients (chop onions, mince garlic/ginger, measure spices) before you start cooking. This makes the process much smoother and prevents burning.
- Invest in a Good Blender: For silky smooth gravies and spinach purees, a powerful blender is invaluable.
- Don't Rush the Bhuna: Patience is key during the frying stages. Resist the urge to crank up the heat too high.
- Taste, Taste, Taste: Continuously taste your curry and adjust seasonings as you cook. This is how you fine-tune the flavors to your preference.
- Garnish Generously: A sprinkle of fresh coriander, a swirl of cream, or a few slices of green chili can enhance both the visual appeal and the fresh flavors of your finished dish.
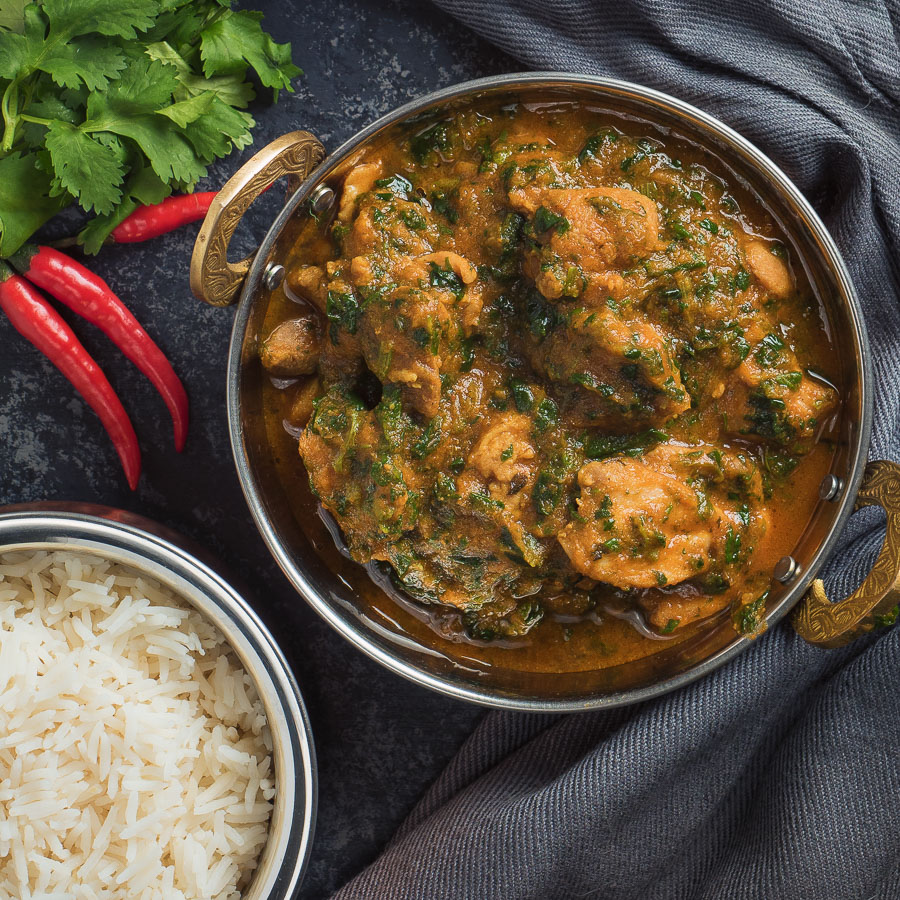
- Serving Suggestions: Serve your chicken saag with fluffy basmati rice, warm naan bread, or a simple raita (yogurt dip) to complement its richness.
Mastering a nearly restaurant style chicken saag curry at home is an incredibly rewarding culinary journey. By focusing on the quality of your ingredients, employing patient cooking techniques like slow caramelization and spice blooming, and paying attention to the details of spinach and chicken preparation, you can elevate your homemade curry to impressive new heights. Embrace the process, experiment with the tips provided, and prepare to delight your taste buds with a curry that truly rivals your favorite restaurant.
